How To Apply Anti-Slip Epoxy Flooring
A slippery floor could be a health and safety disaster, whether you have kids racing around the house or workers operating in a garage. If you opt for an epoxy floor coating system, you need to consider anti-slip additives. Epoxy floor paint is an excellent solution and an anti-slip additive will make your charming new floor a safe one. You can shop multiple colours and shades, and make it the perfect match for any room. Applying a non-slip coating won’t just reduce the risk of accidents, it will always keep the floor looking newer for longer.
Before Applying Anti-Slip Epoxy Flooring
If you plan to apply epoxy flooring, whether it’s the garage floor, an industrial kitchen or a warehouse, there are a few factors to address first:
- Check the floor for moisture. You can do this by covering the area with plastic and leaving it overnight. If you find moisture marks on the corners of the plastic later, you know the epoxy will not work. If there are no marks, you can proceed. If you see beading, it’s a sure sign of concrete sealer which means you can’t use epoxy.
- Prepare the floor. There are two considerations here.
Acid etching on new concrete:
- Use a degreaser to remove any oil
- Mix 1 part hydrochloric acid with 10 parts of water and brush this onto the floor
- Wash the surface with clean water and allow to dry completely
- Fill any cracks using epoxy fillers and allow to cure
- Sand over the filler to make sure no residue is left behind. An 80-120 grit sand paper should suffice
- Vacuum the floor to ensure no dust remains – vacuuming is the most effective way to ensure you get all debris
Existing concrete with coating on it
- Degrease the heavily affected oily area
- Diamond grind the floor to remove the existing coating and top layer of concrete
- Vacuum dust and fill any imperfections using epoxy fillers
- Sand over the filler, as above
- Vacuum the floor
- When floor is completely dry, apply epoxy primer
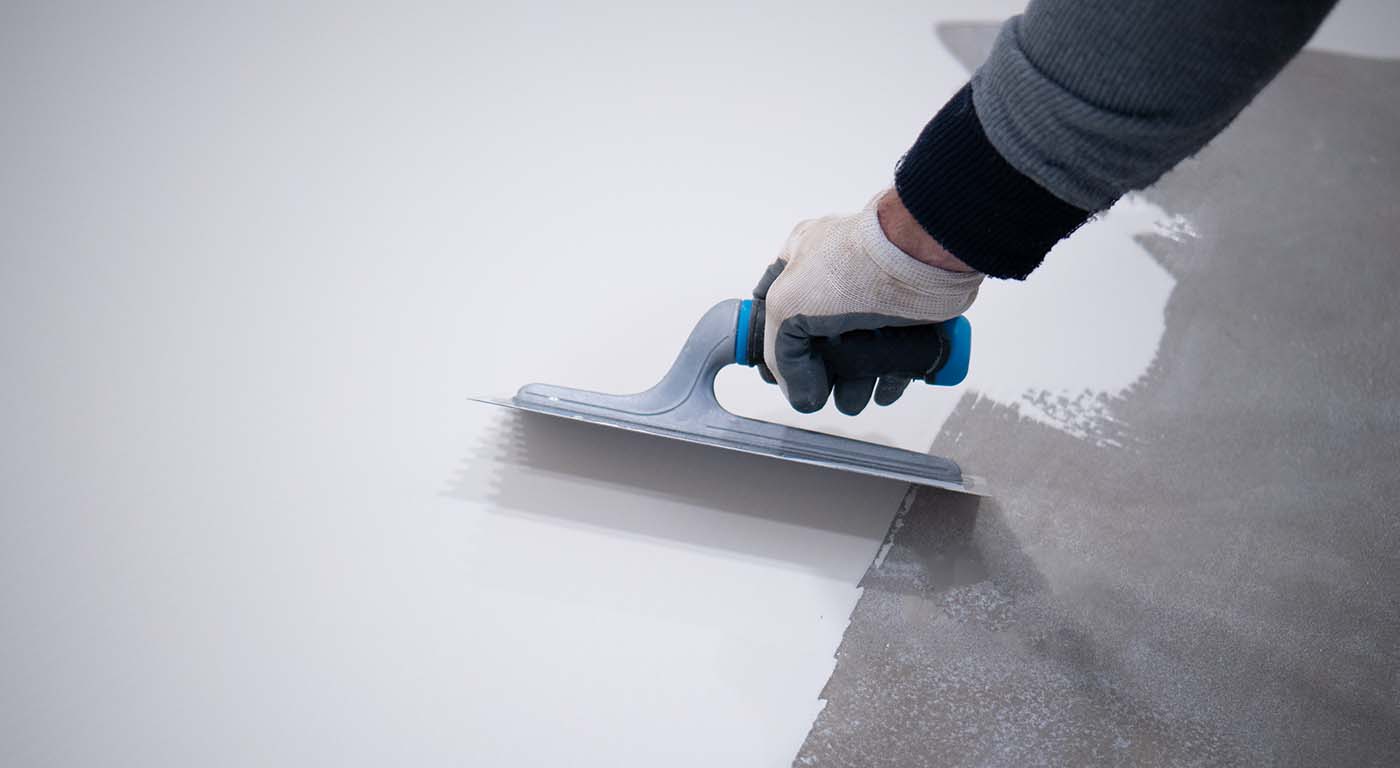
Applying Epoxy Floor Coatings
Once the steps above are complete, you can move on to applying your anti-slip epoxy coating. You can use a primer or move onto the slip resistance epoxy. Follow the instructions on your chosen resistant surface epoxy and wear the correct safety gear as you mix your epoxy. Follow these steps:
- Step One: Mix the epoxy flooring product as per manufacturer’s instructions. Remember: On 25-degree days epoxies have 20 minutes of pot life, so only mix as much as you can apply within 20 minutes
- Step Two: Cut the corners using a good quality brush.
- Step Three: Dip your industrial cover roller into the tray and start rolling. Make sure you apply an even coat of primer to your floor. Wait for it to cure (usually a few days).
- Step Four: Once your epoxy has cured, return and sand down any high points. Also, fill any cracks with epoxy fillers.
- Step Five: Vacuum the surface
- Step Six: Mix Part A and B together.
- Step Seven: Add anti-slip media (such as clean silica sand, aluminium oxide or floating anti-slip media) to your mix or broadcast it over wet film.
- Step Eight: Using a good quality brush, start cutting and then apply an even coat of epoxy to the floor using industrial grade roller covers.
- Step Nine: While it’s still wet, use epoxy flooring spikes and walk on the film, then back roll the epoxy to achieve a uniform finish.